
Scenery Interlacing
The technique of Scenery Interlacing, and you heard it first from MegaSceneryEarth, will double your scenery loading performance if you have two drives and triple that performance if you have three. The technique, in a nutshell, is spreading your scenery files across multiple physical drives.
Did you know that if you have more than one physical hard drive on your PC you can actually improve the loading performance of MegaSceneryEarth during startup and while flying by a factor that is equivalent to the number of drives on your system?
If you have two drives you can double the performance. If you have three drives you can triple the performance. Your scenery highest resolution textures will snap in faster as you fly so your scenery will look clear and crisp even at speeds of over 1,000 knots.
How?
Hard drives usually cannot load and transfer data anywhere near the speeds allowed by your system bus. The drive itself is the rate limiting factor. If you have more than one drive, your PC can read and write data from both of those drives simultaneously at the same maximum speed that both drives can perform at. So you get around double the performance. If you have three hard drives the same applies but at triple the performance. The ability to read and write data from two drives simultaneously for double the performance is the exact same principle behind a RAID 0 setup that some users have because data is shared across two drives and is therefore transfered at twice the rate since each drive is only supplying half of the data that is being transfered.
You can actually apply this same principle to MegaSceneryEarth and any other photoreal scenery for that matter by splitting your scenery files across two or more drives so that half the BGL files are reading from one drive and half from the second drive.
The only issue is that while it is relatively simple to do, it's not quite as simple as moving the top half of the files to another drive. Instead you need to "interlace" the files so that when you are flying over an area, the scenery files being loaded come from each drive. If one of the scenery tiles is coming from drive 1 then scenery tile right next to it needs to come from drive 2.
The easiest way to interlace the files across both drives is to have the ODD NUMBERED files on one drive and the EVEN NUMBERED files on the second drive. You can select those files just by searching for such files by the ending odd or even digit in the search bar in Windows Explorer.
Note that this performance increase will only be realized if your drives are separate physical drives. If you have C and D partitioned on the one drive then this won't work. You need separate physical drives.
Let's do it!
The procedure involves creating a folder for a particular scenery area on the second drive with the same name, selecting and moving the EVEN numbered files to the second drive and setting up an entry in scenery library for the second area on the second drive that you created.
We're going to take you though it step by step in a moment but if you aren't 100% comfortable with moving files around your PC and Scenery Library entries but still want to give it a go, make a backup copy of your original state with a quick copy and paste of the folder. In fact, even if you are an expert you should also make a backup copy of your original scenery folder to avoid having to redownload and reinstall if something does go wrong for you.
For the example, we are going to use TennesseeV3. We are going to put the even numbered files on the C: drive (files ending in 2, 4, 6, 8, 0) and the odd numbered files on the D: drive (files ending in 1, 3, 5, 7, 9). The original installation is going to be on D: drive. Let's begin.
- Make that backup of your original TennesseeV3 folder by going into D:\MegaSceneryEarth, selecting the TennesseeV3 folder, right clicking and selecing Copy and then Paste. This will make a backup folder called TennesseeV3 Copy.
- Go to your C: drive and if the folder MegaSceneryEarth doesn't exist then create a folder called MegaSceneryEarth.
- Open the folder C:\MegaSceneryEarth and create a folder called TennesseeV3
- Go into TennesseeV3 and create a folder called Scenery
- Open up the folder called Scenery
- Open a second Window and navigate to your D: drive.
- Open up the folder called MegaSceneryEarth, then open the folder called TennesseeV3 and then open up the folder called Scenery. In that folder you will find the BGL files that make up the state of Tennessee
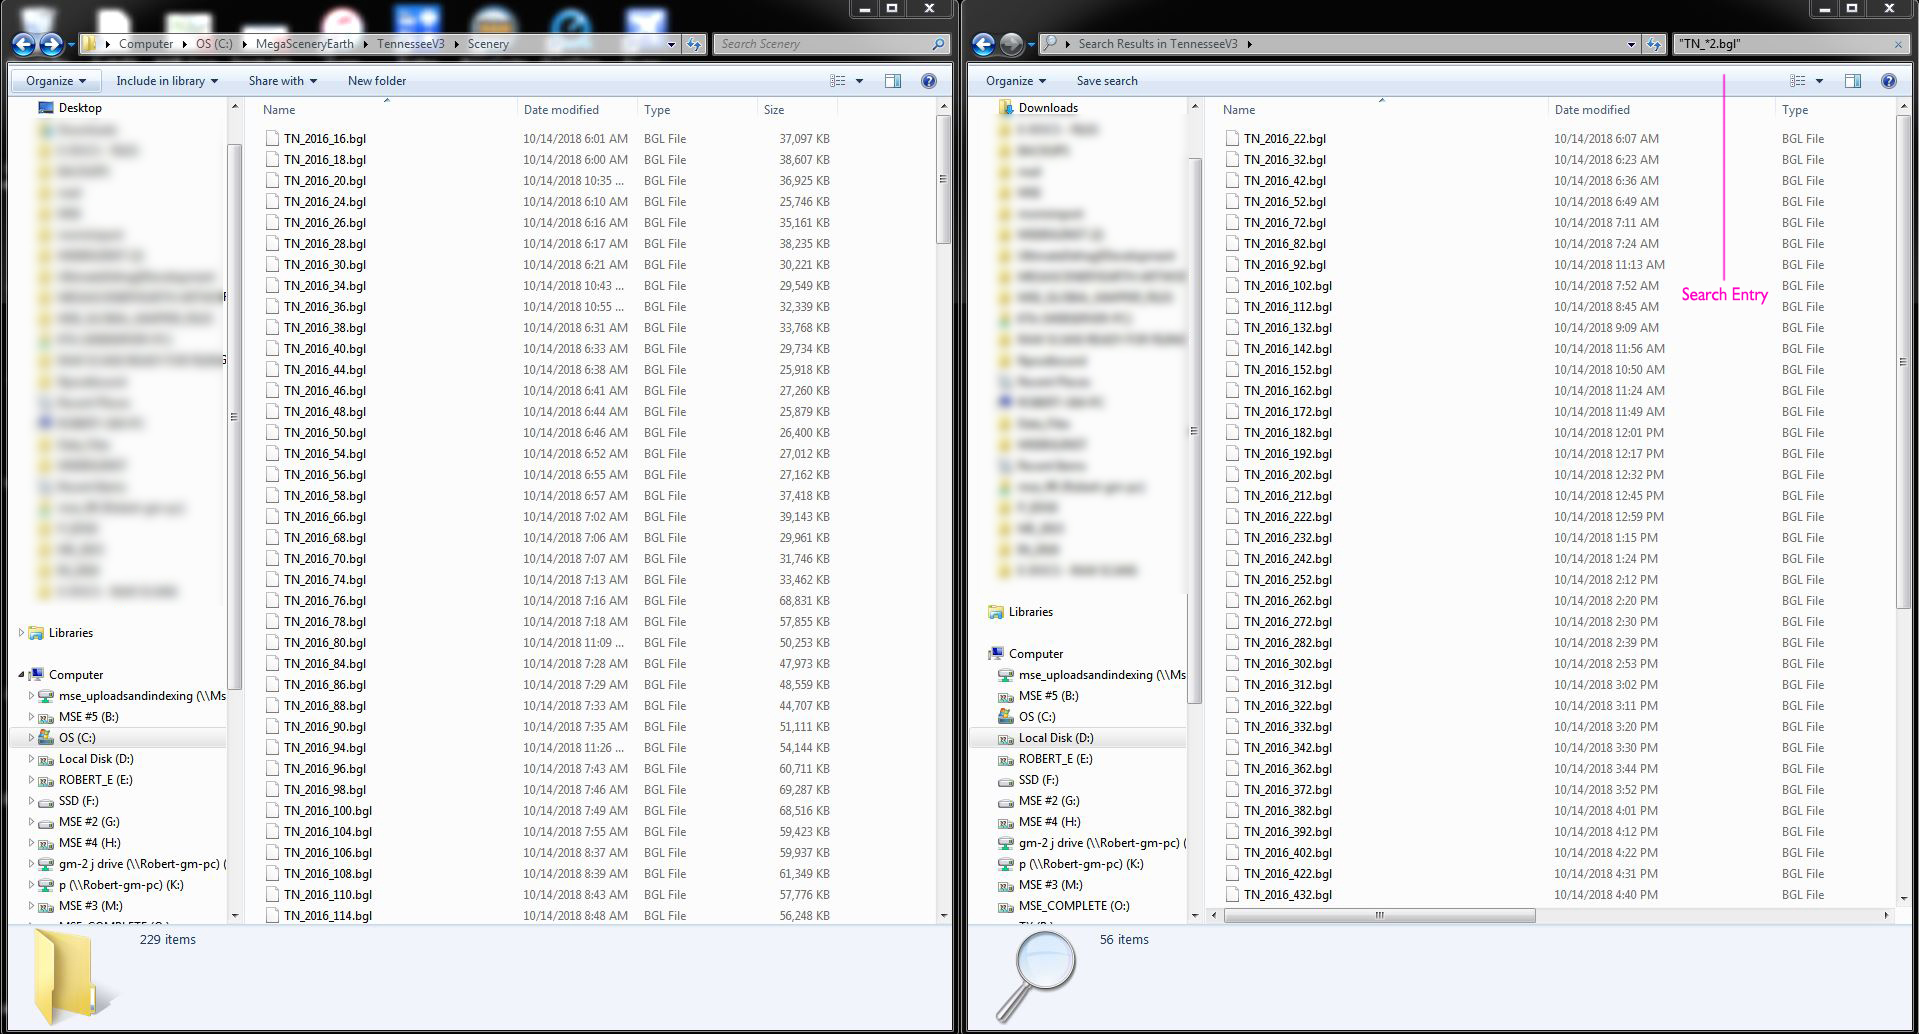
- The image applies to steps 8 to 12. Click on the image to enlarge.
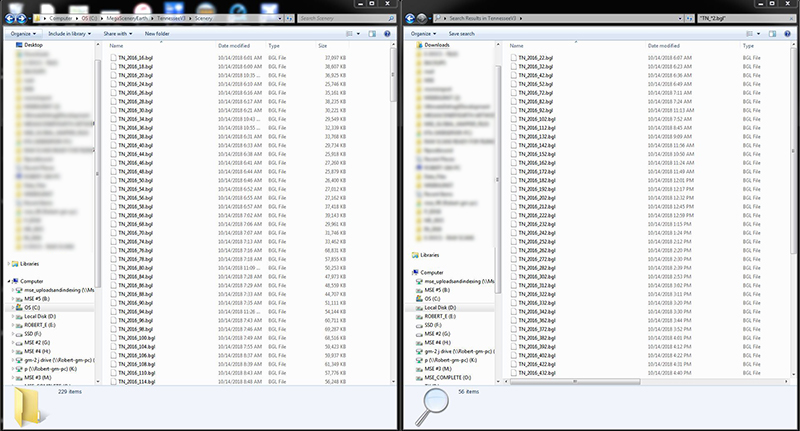
- Let's select the first set of even numbered files, the files ending in number 2, Enter this string in the Windows search bar (including the quotes) "TN*2.BGL"
- It will filter the list of files to only those ending in 2. Select all of those files, right click and select CUT.
- Go into the other Window you have opened which will be C:\MegasceneryEarth\TennesseeV3\Scenery. Right-click in it with your mouse and select Paste. This will move all files ending in 2 out of the D: drive and onto the C: drive.
- Repeat steps 8 to 10, this time using the search string "TN*4.BGL". This will now filter all files ending in 4. Move those to C:\MegaSceneryEarth\TennesseeV3\Scenery\
- Repeat steps 8 to 11 with the remaining ending numbers 6, 8 and 0.
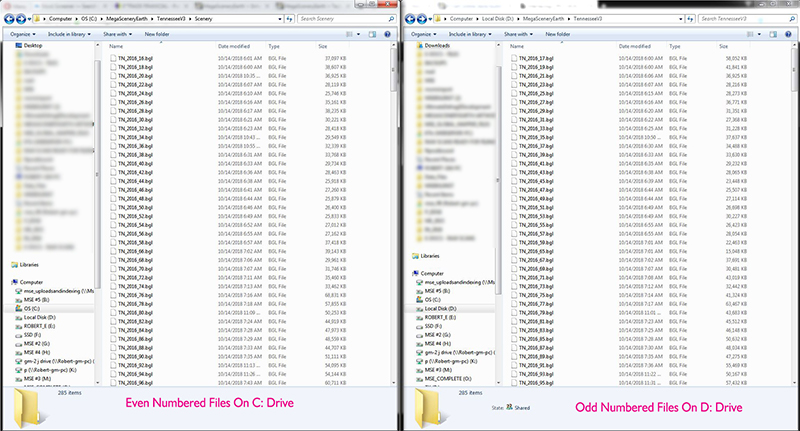
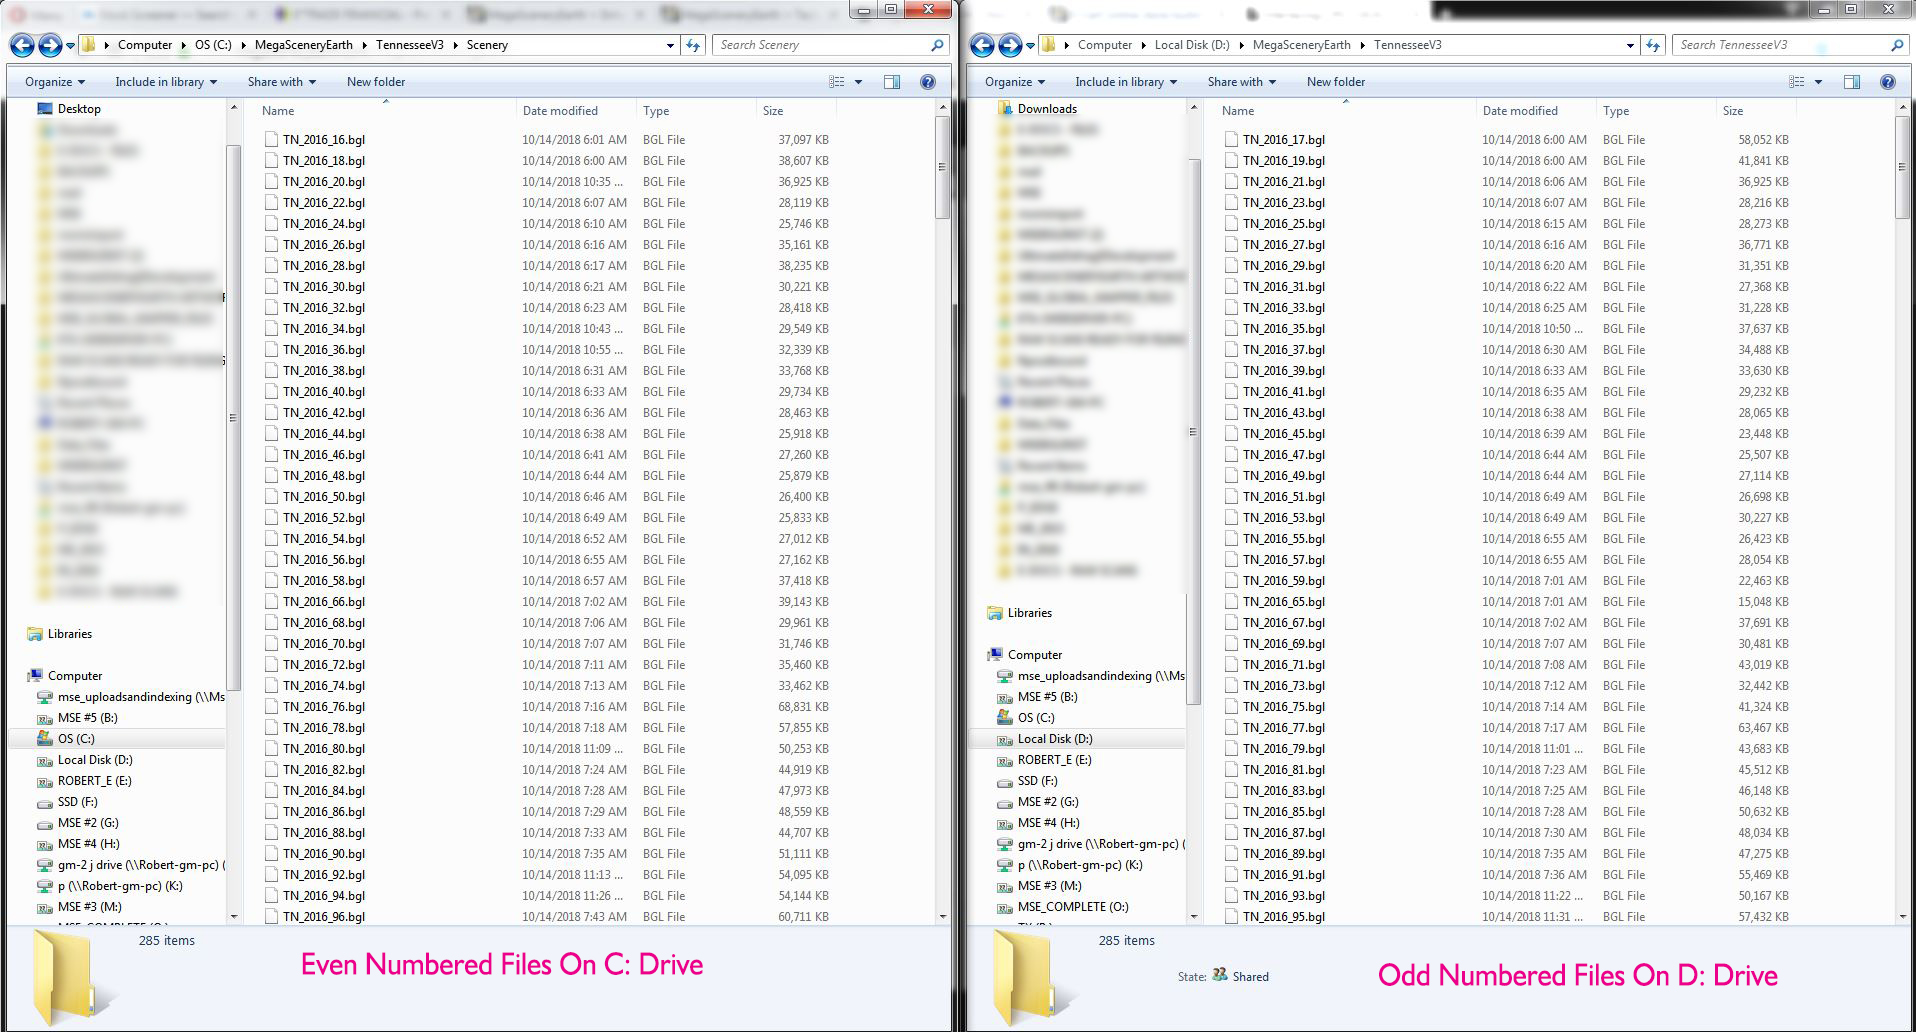
- This image shows what you will have in the two windows
- The next step involves adding an entry to your scenery library for the new folders you created on drive C: for the folder C:\MegaSceneryEarth\TennesseeV3\Scenery
- To add this to your scenery library, load your sim (FSX/P3D) and go into Scenery Library. Select Add Area and point to the folder C:\MegaSceneryEarth\TennesseeV3. You can actually name the area TennesseeV3_C so you know this entry is the C: drive files. If you are unsure about performing this step, there is a tutorial here: http://www.megasceneryearth.com/support/MegaSceneryEarth-How-To-Add-To-Scenery-Library.htm
- After you have added that area, your simulator will take a moment to re-index your scenery files.
- Then simply go to an airport in Tennessee and you should see everything load much faster. You can use the slew function and slew around your scenery. You will see the high res textures snap into place much faster than before.
- Done!
You can repeat this for all your MegaSceneryEarth areas. Once you have done one it gets easier and more familiar each time you perform it. We may, no promises, create a small utility that does this all for you automatically.
If you have 3 drives, you can do the same procedure except it won't be and odd and even numbered files. Instead you will place the files on each drive in a round robin fashion. So if you have 3 drives C:, D:, E: then files ending in 1 will go on C:, ending in 2 will go on D, ending it 3 will go on E:, 4 on C, 5 on D and 6 on E,7 on C, 8 on D, 9 on E: and 0 on C:.
You will then get about triple the performance.
We have tested this technique on up to 4 drives. While performance is faster than 3, the law of diminishing returns starts to kick in and the performance improvements, while still there, become slightly less pronounced with each drive added.
Regarding Uninstallation
If ever you decide to run an uninstaller for an area, the original installed directory will be removed e.g. all the ODD numbered files on drive D because the uninstaller does a blanket delete of all the files in the folder. The directories will also be removed and the Scenery Library entry will be removed.
For the files and folders that you just created on the C: drive, C:\MegaSceneryEarth\TennesseeV3, manually delete the TennesseeV3 folder and files in it. You will need to manually remove the entry that you manually created in the Scenery Library. In this case the listing TennesseeV3_C.
Article by Robert Ferraro
MegaSceneryEarth users are very fortunate in that our owner and creator of MegaSceneryEarth scenery, Robert Ferraro has a passion for "tweaking" PCs for their best performance possible. In fact, back in the day when the "blurries" were a major issue with photoscenery, Robert created UltimateDefrag a disk defragmentation product that, not only defragments hard drives, but also optimizes file placement. It was and still is very helpful in reducing blurries. Thousands of flight simmers use UltimateDefrag. Look out for more articles posted to this section on this site for applying system tweaks that enhance your PCs performance, not only for Flight Sims and MegaSceneryEarth but also for the general performance of your PC. Look out also for any product recommendations. If Robert uses it and recommends it, it means it works and will be a worthwhile investment for enhancing your PC's performance.